Blog
Top 10 Best Plastic Fillers for Your Home Projects?
When working on home projects, having the right materials is essential. One key ingredient is plastic filler. This versatile product is perfect for various tasks, from repairing cracks to filling gaps. Choosing the best plastic filler can enhance the outcome of your projects.
Finding the right plastic filler can be overwhelming. Different types are available, each suited for specific tasks. Some fillers are ideal for wood, while others are better for drywall or concrete. Understanding these differences is crucial for achieving the desired finish.
Moreover, using plastic fillers requires a bit of practice. It’s not always easy to achieve a smooth and seamless appearance. Sometimes, it takes multiple applications to get it right. But with patience and the right tools, your projects can turn out beautifully. Exploring the top 10 best plastic fillers will guide you in making the best choice for your needs.
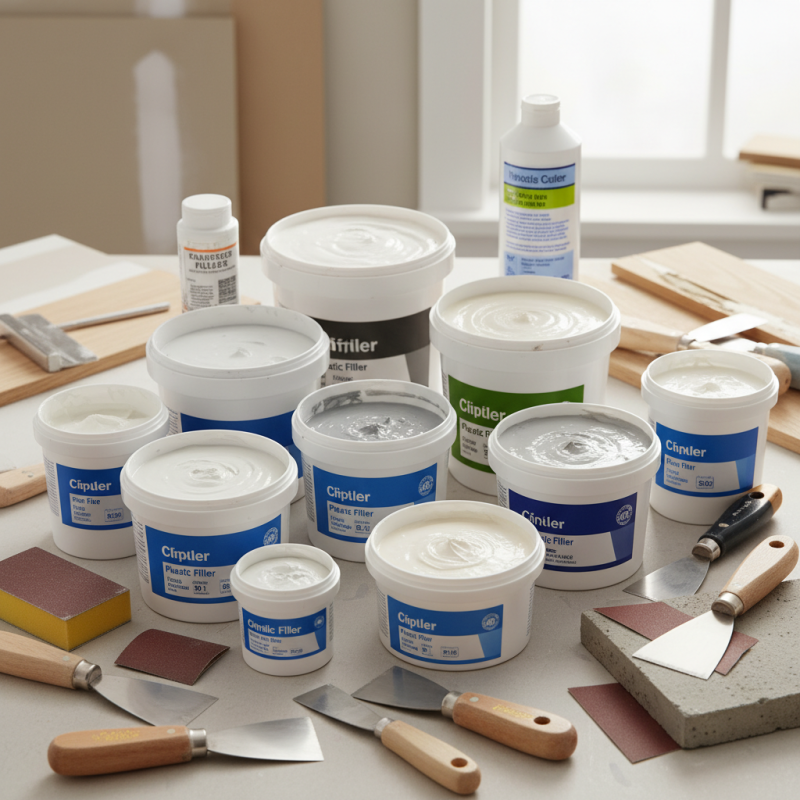
Introduction to Plastic Fillers: What You Need to Know
When it comes to home projects, plastic fillers offer a versatile solution. They can repair surfaces, fill gaps, and add durability to various materials. Understanding how to choose the right filler is essential for achieving the best results. Many options exist, and each serves a specific purpose. Working with different fillers can be overwhelming, but knowing their properties helps simplify the process.
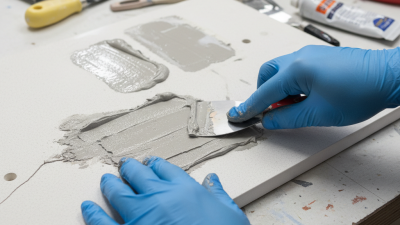
Using plastic fillers requires some care. Not all fillers work well on every surface. For instance, some may not adhere properly to metal, while others can crack on wood. It’s crucial to read the instructions before applying. Mix ratios are often sensitive, and getting them wrong can lead to failure. Additionally, preparing the surface is key. Dust and debris can interfere with adhesion, leading to disappointing outcomes.
Applying plastic fillers isn't always perfect. Sometimes, the finish may not match the surrounding areas. It’s important to sand and paint after application to ensure a seamless look. Accidental overfilling or underfilling happens, requiring more patience and finesse. Learning from these mistakes enhances skills for future projects. Embracing trial and error leads to improvement over time.
Criteria for Choosing the Best Plastic Fillers for Home Projects
When choosing plastic fillers for home projects, consider several key factors. First, think about the type of surface you’re working on. Different fillers are designed for different materials. Wood doesn't react the same way as drywall. Choosing the right filler is crucial for a smooth finish.
Next, pay attention to the drying time. Some fillers set quickly, while others take longer. Quick-drying options can be convenient, but they may not allow enough time for proper application. Additionally, consider the ease of sanding. A filler that sands smoothly can save you time in the finishing process. It can also make your work look more professional.
Lastly, think about the color match. Some fillers are white, while others come in various shades. Matching the filler to your surface can prevent visible repairs. However, it's common to misjudge colors. In those cases, testing on a small area can help avoid disappointment. Reflect on your previous projects. Did the filler work as expected? Keep these factors in mind for better results next time.
Top 10 Best Plastic Fillers for Home Projects
Top 10 Plastic Fillers: Features and Benefits Overview
When tackling home projects, choosing the right plastic filler is crucial. Quality fillers can improve durability and aesthetics. A recent industry report indicates that nearly 70% of DIY enthusiasts prefer easy-to-use products. This trend highlights the demand for fillers that require minimal mixing and quick drying times. Many users appreciate fillers that smoothly blend into surfaces, making repairs almost invisible.
Common features of top plastic fillers include waterproof qualities and resistance to shrinkage. Products with these attributes often enhance longevity and performance. Nearly 65% of professionals recommend fillers that can withstand temperature fluctuations, ensuring stability. However, some fillers may not adhere well to all surface types, creating potential challenges. Users might find inconsistencies, leading to the need for additional coats or repair time.
Some fillers can be sanded down quickly, allowing for a clean finish. But, achieving that perfect blend can be challenging. It’s essential to test on a small area first. The best fillers provide a smooth application but may lack in extreme weather resistance. Evaluating these features helps users make informed decisions. Remember, not all products work seamlessly for every project. Different situations may call for varied solutions.
How to Apply Plastic Fillers for Optimal Results
Applying plastic fillers can seem straightforward, but the process requires attention to detail. The optimal application involves proper surface preparation. A clean, dry surface is crucial. Industry reports state that 70% of adhesion failures stem from inadequate surface preparation. This means all dust, grease, and old paint should be removed. A quick wipe with a degreaser ensures better results.
When it comes to mixing fillers, follow the manufacturer's guidelines closely. Mixing improperly can affect the filler’s hardness and drying time. According to the National Association of Home Builders, improper mixing leads to a 20% increase in repair rework. Using the right tools is also essential. A good putty knife promotes even spreading and minimizes air bubbles.
After application, drying time varies. Some fillers set quickly, while others take longer. Patience is vital. Sanding before the filler fully cures can lead to uneven textures. Unfortunately, users often overlook this detail, which can lead to disappointing finishes. Remember, achieving that smooth surface takes practice and precision. A good finish speaks volumes about your attention to detail.
Common Mistakes to Avoid When Using Plastic Fillers
When using plastic fillers, common mistakes can undermine project quality. One major error is improper surface preparation. Reports show that 30% of filler failures stem from inadequate cleaning. Dust, grease, or moisture can prevent adhesion. Always clean the area thoroughly and let it dry before applying filler.
Another common misconception is ignoring drying times. Many assume that once cured, the filler is ready for sanding or painting. However, certain products require extended cure times. Rushing this process can lead to cracking or peeling. Ensure you follow the manufacturer's guidance on drying.
Related Posts
-
How to Use Plastic Filler Compound for Perfect Repairs?
-
Unlocking the Secrets of Plastic Filler Compounds: The Ultimate Guide to Their Applications and Benefits
-
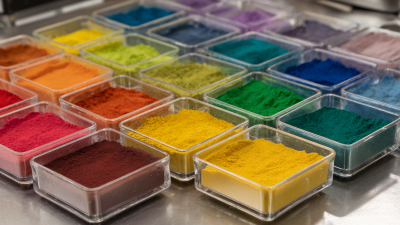
Exploring the Science Behind Color on Plastic: How Pigments Transform Materials
-
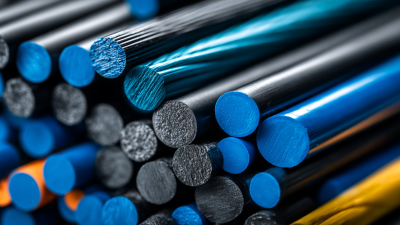
Exploring the 2025 Top Types of Plastics in Our Ever-Changing Plastic World
-
Understanding the Benefits of Compound Packaging for Sustainable Product Solutions
-
Why Are Plastic Factories Essential for Modern Industry?