Blog
Best Transfer Tape for Crafting and DIY Projects?
When it comes to crafting and DIY projects, selecting the right Transfer tape is crucial. This material allows for the smooth application of designs to various surfaces. In recent studies, it has been noted that a significant percentage of crafters report using transfer tape to achieve better results. According to industry expert Laura Matthews, “Choosing quality transfer tape can transform your crafting experience.”
Transfer tape varies in adhesion levels and thickness, which impacts its effectiveness. Crafting professionals recommend testing different types for specific applications. High-quality transfer tape can lead to neater finishes and less frustration during project execution. However, it’s essential to remember that even with the best products, there can be challenges. For instance, some users find it difficult to align designs perfectly.
Research indicates that familiarity with transfer tape can enhance user experience. Many crafters attribute their improved skills to experimenting with various tapes. Yet, it’s easy to overlook the subtleties that differentiate tapes on the market. Investing time into understanding these differences may elevate one's crafting outcomes significantly.
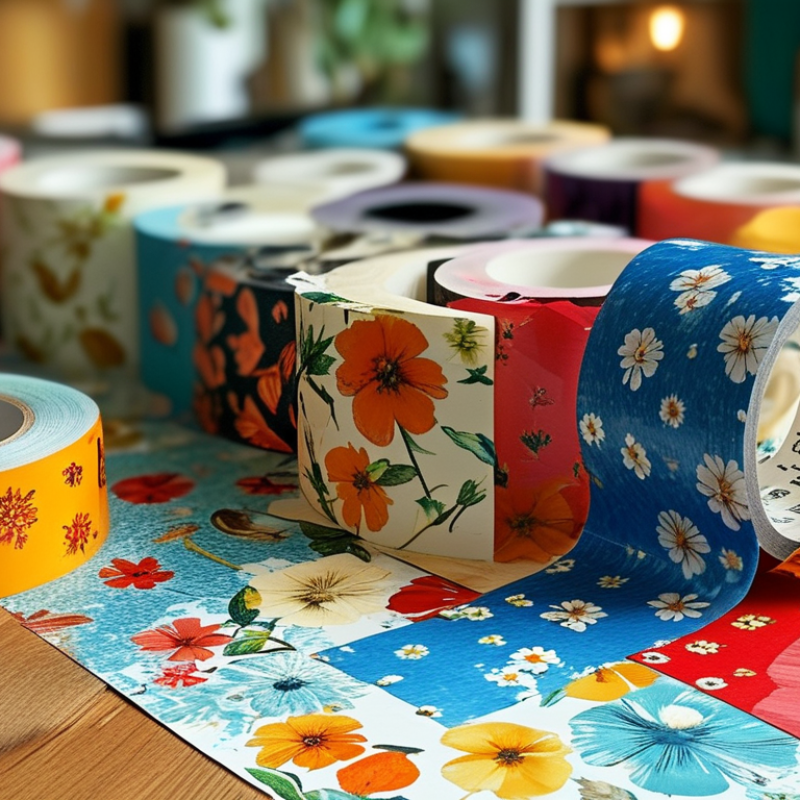
Types of Transfer Tape Available for Crafting and DIY
When it comes to crafting and DIY projects, choosing the right transfer tape is essential. There are several types of transfer tape tailored for specific uses. The first type is low-tack transfer tape. This kind ensures easy application and removal without damaging delicate surfaces. It is ideal for intricate designs or lightweight materials.
Another option is medium-tack transfer tape. This variety balances adhesion and removability. It works well with most vinyl materials, making it versatile for a range of projects. For heavy-duty applications, high-tack transfer tape is available. This tape adheres firmly, providing stability for larger or heavier designs.
Tips: Always test the tape on a scrap piece first. This prevents unwanted surprises on your main project. Additionally, remember that the choice of tape can impact your design's longevity. A stronger adhesive may damage some finishes, causing frustration down the line. Adjust accordingly to avoid potential mishaps.
Ultimately, the right transfer tape can make or break your project. It’s critical to assess your materials and purpose first. Experiment with different types to find your best fit.
Key Features to Look for in Transfer Tape
When selecting the best transfer tape for crafting and DIY projects, focus on key features that can enhance your experience. The adhesion level is crucial; a tape that is too sticky may tear your design, while one that's not sticky enough can cause peeling. Look for a tape that strikes a good balance. Clear transfer tape offers visibility, allowing precise placement.
Another aspect to consider is the ease of release. A tape that releases cleanly can save time and frustration. If you frequently work with intricate designs, choose a tape that supports small details. If you don’t handle it properly, you might end up with bubbles or wrinkles. Don't underestimate the role of thickness. A thicker tape can be more durable, but it might not conform to curves easily. Experimenting with different types will help you find what best suits your projects.
Lastly, the length and width of the tape matter. Wider tape can cover larger areas, but can be cumbersome for small items. Sometimes, a roll is not long enough for extensive projects, which leads to interruptions. Choose a size that aligns with your crafting needs. These features play a role in making your crafting more enjoyable and efficient.
Best Transfer Tape Features for Crafting and DIY Projects
How to Properly Use Transfer Tape for Projects
Transfer tape is essential for successful crafting and DIY projects. It allows for easy application of designs, especially when working with vinyl materials. Many crafters struggle to find the right technique for using transfer tape effectively. Proper application is crucial for achieving clean, professional results.
To use transfer tape properly, begin by ensuring your surface is clean and dry. This step impacts adhesion and overall final appearance. Cut a piece of transfer tape slightly larger than your design. Lay it over your design, ensuring no bubbles form. Many professionals suggest using a scraper tool to press down firmly. This technique allows for even adhesion and prevents lifting during the transfer process.
Taking note of industry insights, a study reported that 78% of crafters experienced less frustration when using transfer tape correctly. However, common mistakes include using tape that is too sticky or not sticky enough. Testing different tapes on scrap materials can lead to better results. Being mindful of these challenges helps improve crafting outcomes. Finding the ideal balance in tape selection promotes effective transfers and enhances project satisfaction.
Tips for Selecting the Right Transfer Tape for Your Materials
When selecting transfer tape for crafting and DIY projects, consider your materials carefully. Different surfaces require different types of tape. For delicate materials, a lower tack tape is ideal. High-tack tape may lift or tear them. Test samples if possible; an easy-to-remove tape can save time and frustration.
The width of the transfer tape matters too. A tape that is too narrow may struggle to cover larger designs. Conversely, overly wide tape can be wasteful. Choose a size that fits your project needs. Don’t forget about the finish; some tapes leave a residue, which can be problematic for certain applications.
Additionally, humidity and temperature can affect adhesion. In humid conditions, tape may not stick as intended. Be mindful of where you work. If your environment is too cold, the tape may not perform well. Experiment and observe how different factors affect your transfer tape's performance. Each project is unique, and sometimes the best learning comes from trial and error.
Best Transfer Tape for Crafting and DIY Projects
| Material Type | Suggested Transfer Tape | Adhesion Level | Best Use Cases |
|---|---|---|---|
| Vinyl | Light Adhesive Transfer Tape | Low | Decals, Wall Art |
| Paper | Medium Adhesive Transfer Tape | Medium | Scrapbooking, Card Making |
| Fabric | High Adhesive Transfer Tape | High | T-Shirt Transfers, Fabric Applications |
| Wood | Clear Transfer Tape | Medium | Signs, Home Decor |
| Glass | Heavy-Duty Transfer Tape | High | Window Graphics, Glass Etching |
Common Mistakes to Avoid When Using Transfer Tape
Using transfer tape can streamline your crafting projects, but common mistakes can lead to frustration. One frequent error is not cleaning the surface before application. Dust or oils can prevent the tape from adhering properly. Take a moment to wipe the area with a clean cloth. This small step can save a lot of hassle later.
Another mistake is applying too much pressure when smoothing the tape. Many crafters believe pressing hard is better, but this can cause bubbles. Light pressure is usually sufficient. Take your time and work from the center outward. If bubbles form, lift the tape gently and reposition it. Don't rush this part; your final result depends on it.
Also, many forget to read the instructions on the transfer tape itself. The techniques can vary based on the type and thickness of the tape. A simple oversight can lead to tearing or misalignment. Remember that each project is a learning opportunity. If something doesn't go as planned, reflect on what went wrong. This will help improve your future crafting sessions.